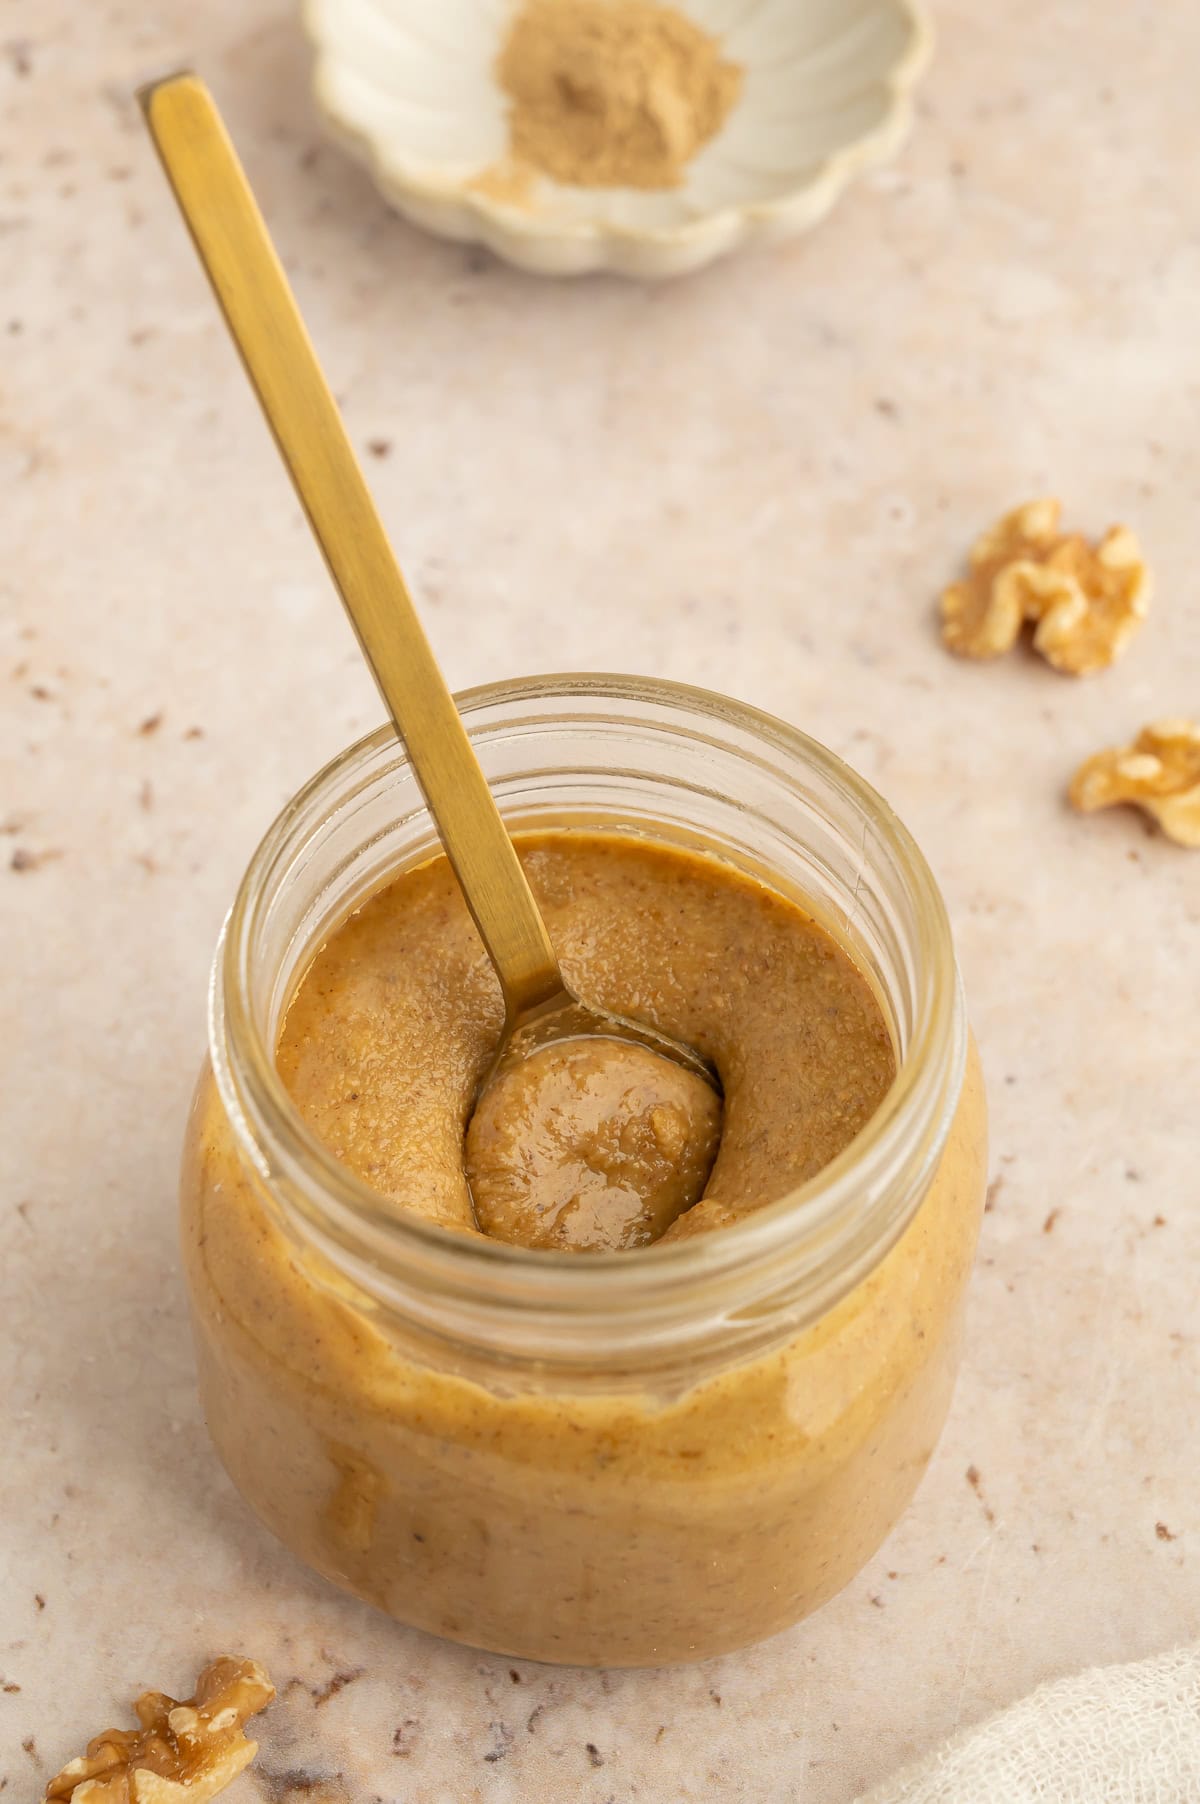
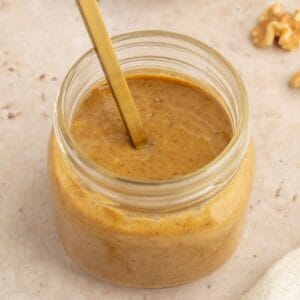
This homemade Walnut Butter is pure comfort in a jar. Made with rich, toasty walnuts, a touch of maple sugar, sea salt, and a warm hint of cardamom, it’s smooth, flavorful, and versatile—perfect for spreading on toast, stirring into oatmeal or smoothies, or simply enjoying by the spoonful.

Jump to:
I am a nut butter gal. In my pantry you will find an array of nut butters at all times. This walnut butter is simple, nourishing, and feels just a little bit fancy. It requires only 3 ingredients (well, 4 if you use the cardamom—so good!) and is free of refined sugar.
Whether you're slathering it on your favorite baked goods, using to top fruit, or just sneaking a spoonful straight from the jar, this walnut butter is bound to become a new favorite.
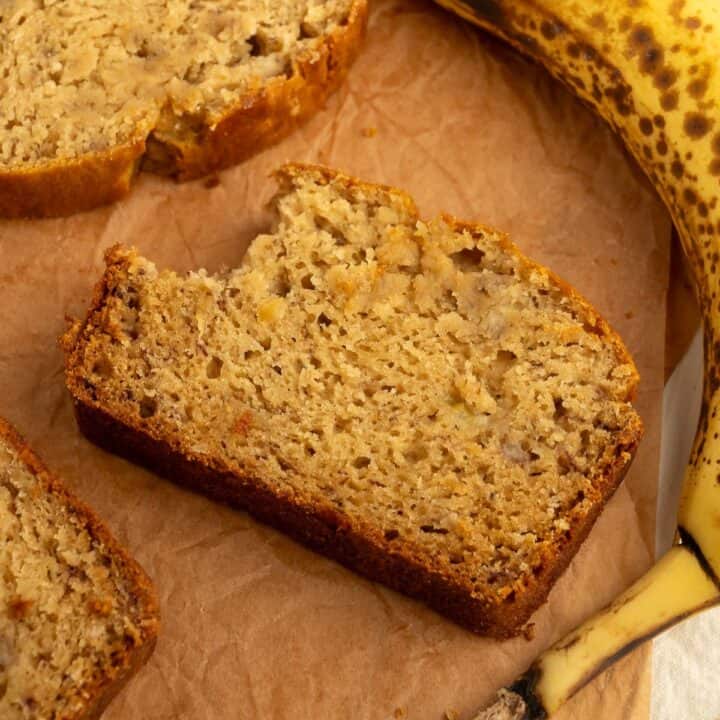
Pair this walnut butter with my favorite Paleo Almond Butter Banana Bread or this delicious Gluten-Free Dairy-Free Banana Bread.
What I Love About This Recipe
This walnut butter is a cozy upgrade to any breakfast or snack. Here’s why I’m obsessed:
✔ Warm & Flavorful – Toasted walnuts blended with maple sugar and a touch of cardamom create a rich, spiced nut butter that's smooth, sweet, and totally irresistible.
✔ Naturally Nutritious – Walnuts are a great source of plant-based omega-3s, antioxidants, and healthy fats—making this a deliciously smart choice.
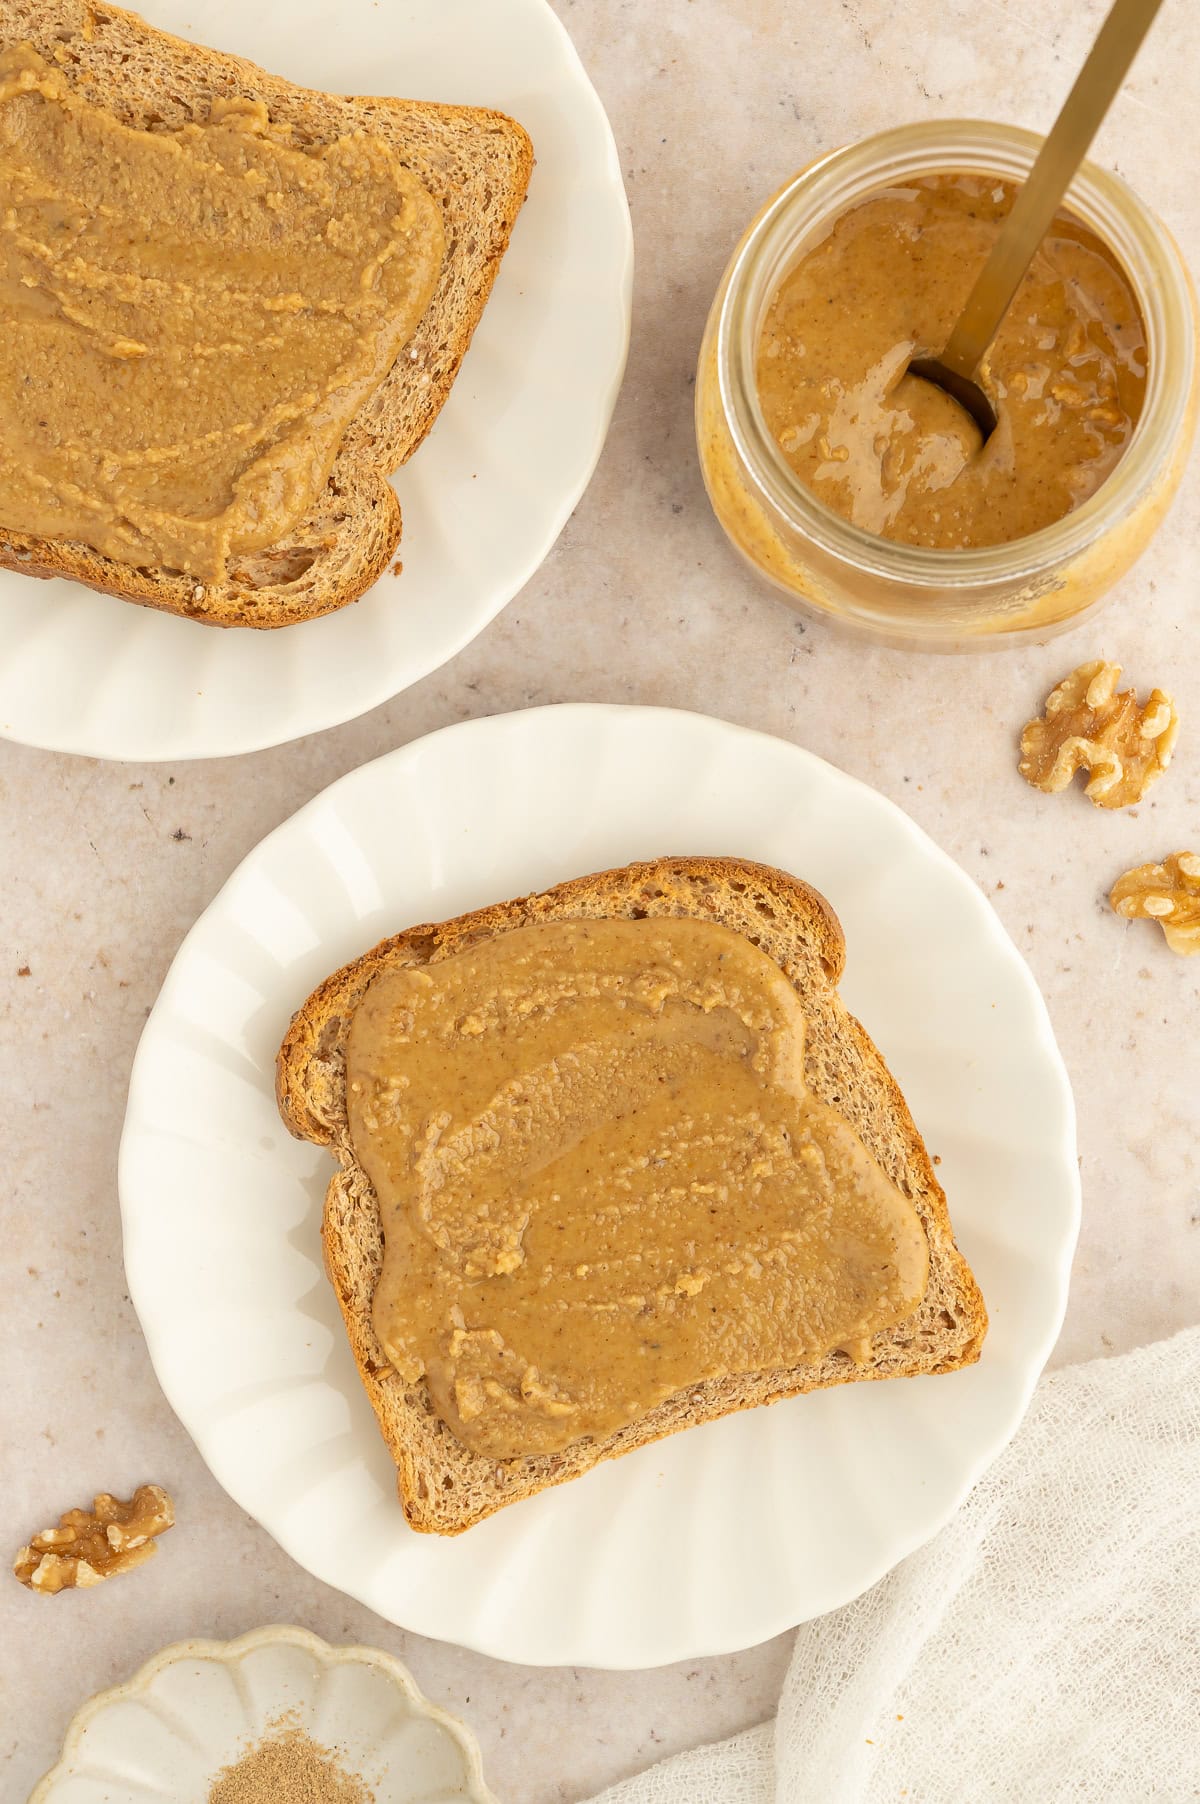
✔ Versatile & Delicious – Spread it on toast, swirl it into oatmeal, blend it into smoothies, use it to top fruit, or enjoy it straight off the spoon. There’s no wrong way.
Ingredients
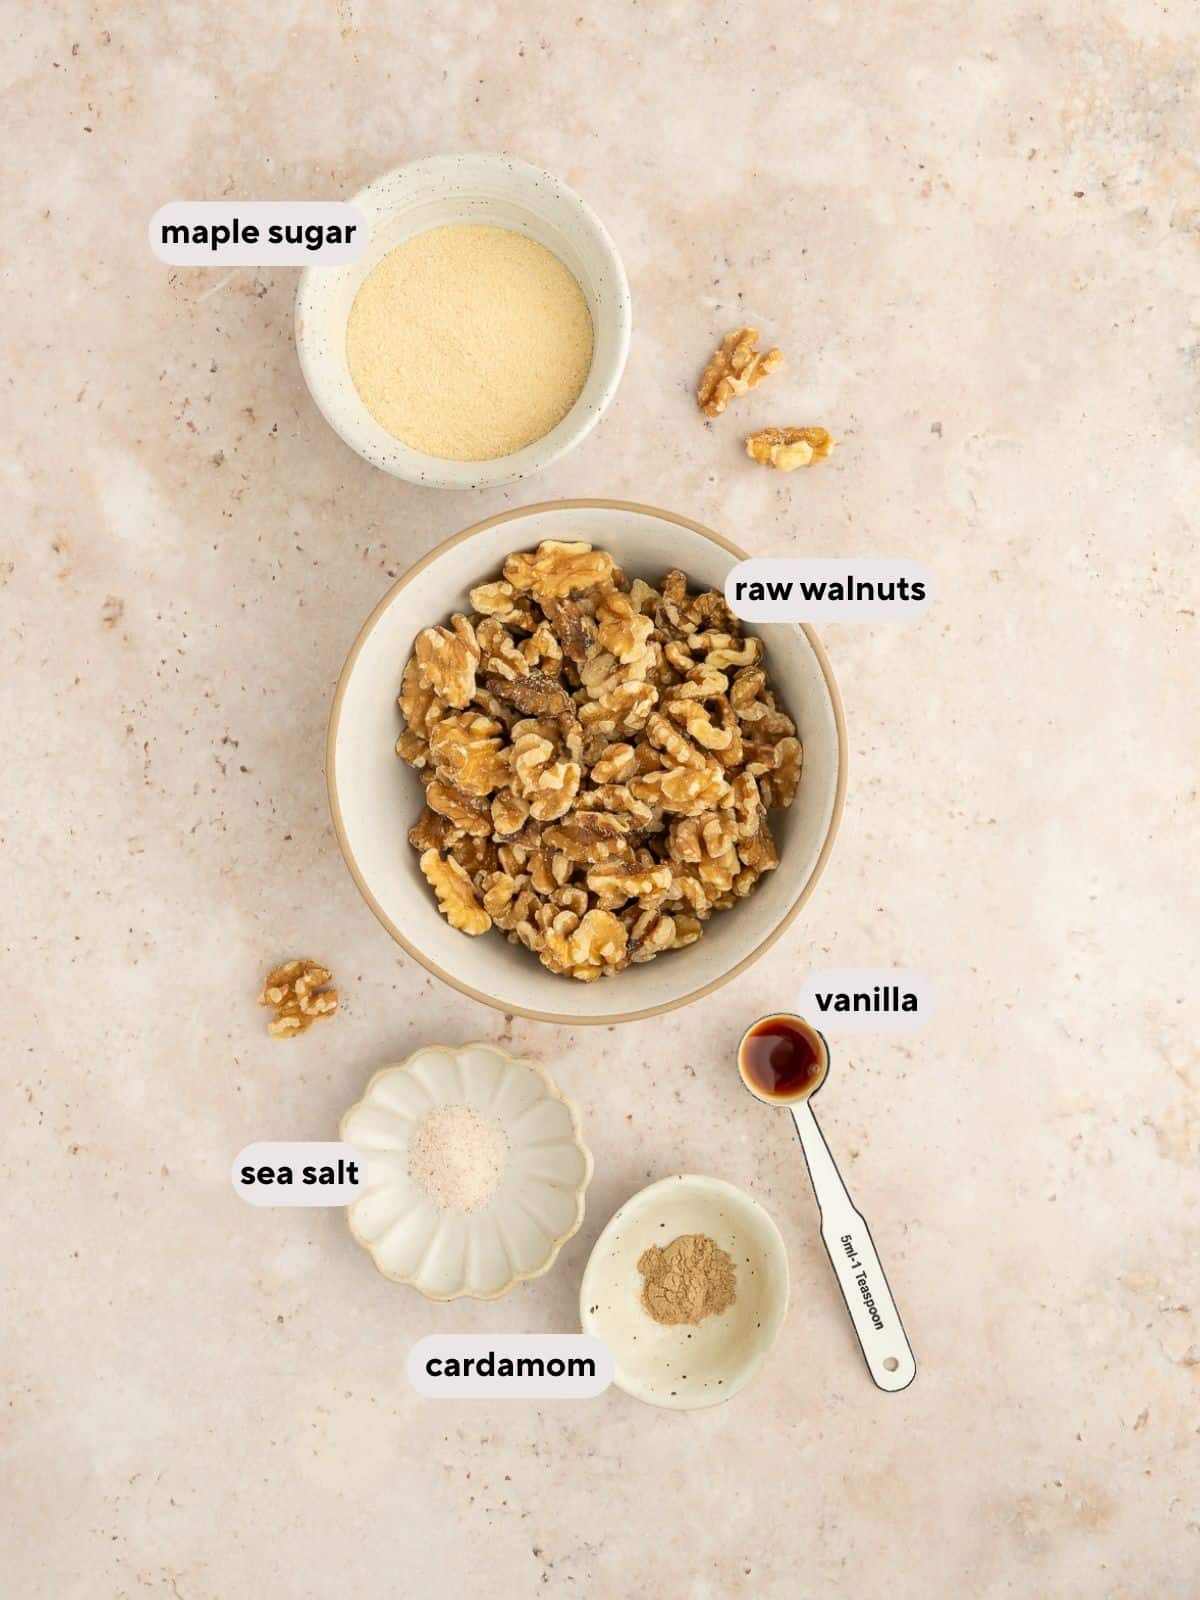
Walnuts – Raw walnuts are necessary for this recipe. I feel like a walking Costco ad sometimes but you'll really find the best price per pound there!
Maple Sugar – Maple sugar adds the perfect level of sweetness and flavor to this nut butter. I know maple sugar can be hard to find—coconut sugar can easily be substituted. Brown sugar would also work!
See the full ingredient list and measurements in the recipe card below.
Possible Substitutions
- I don't recommend substituting a liquid sweetener like honey or maple syrup for maple sugar. In my experience, liquid sweeteners caused the nut butter to seize up and the texture was no longer creamy. Use a granulated sweetener like coconut sugar if you cannot find maple sugar.
If you try any substitutions in this recipe, please let us know what works in the comments below!
Equipment
For this recipe you will need a high-powered food processor. A good blender can also be used but you will need to scrape the side frequently to ensure the walnuts are evenly processed. I used this 500 Watt Hamilton Beach Food Processor—it is nothing fancy but it is affordable and worked really well in this recipe.
How to Make Walnut Butter

Step 1: Preheat the oven to 300 F. Line a baking sheet with parchment paper and spread raw walnuts evenly across. Place in the preheated oven and baked for 14-16 minutes, or until the nuts are lightly toasted and have an oily sheen. Remove from the oven and allow them to cool slightly.
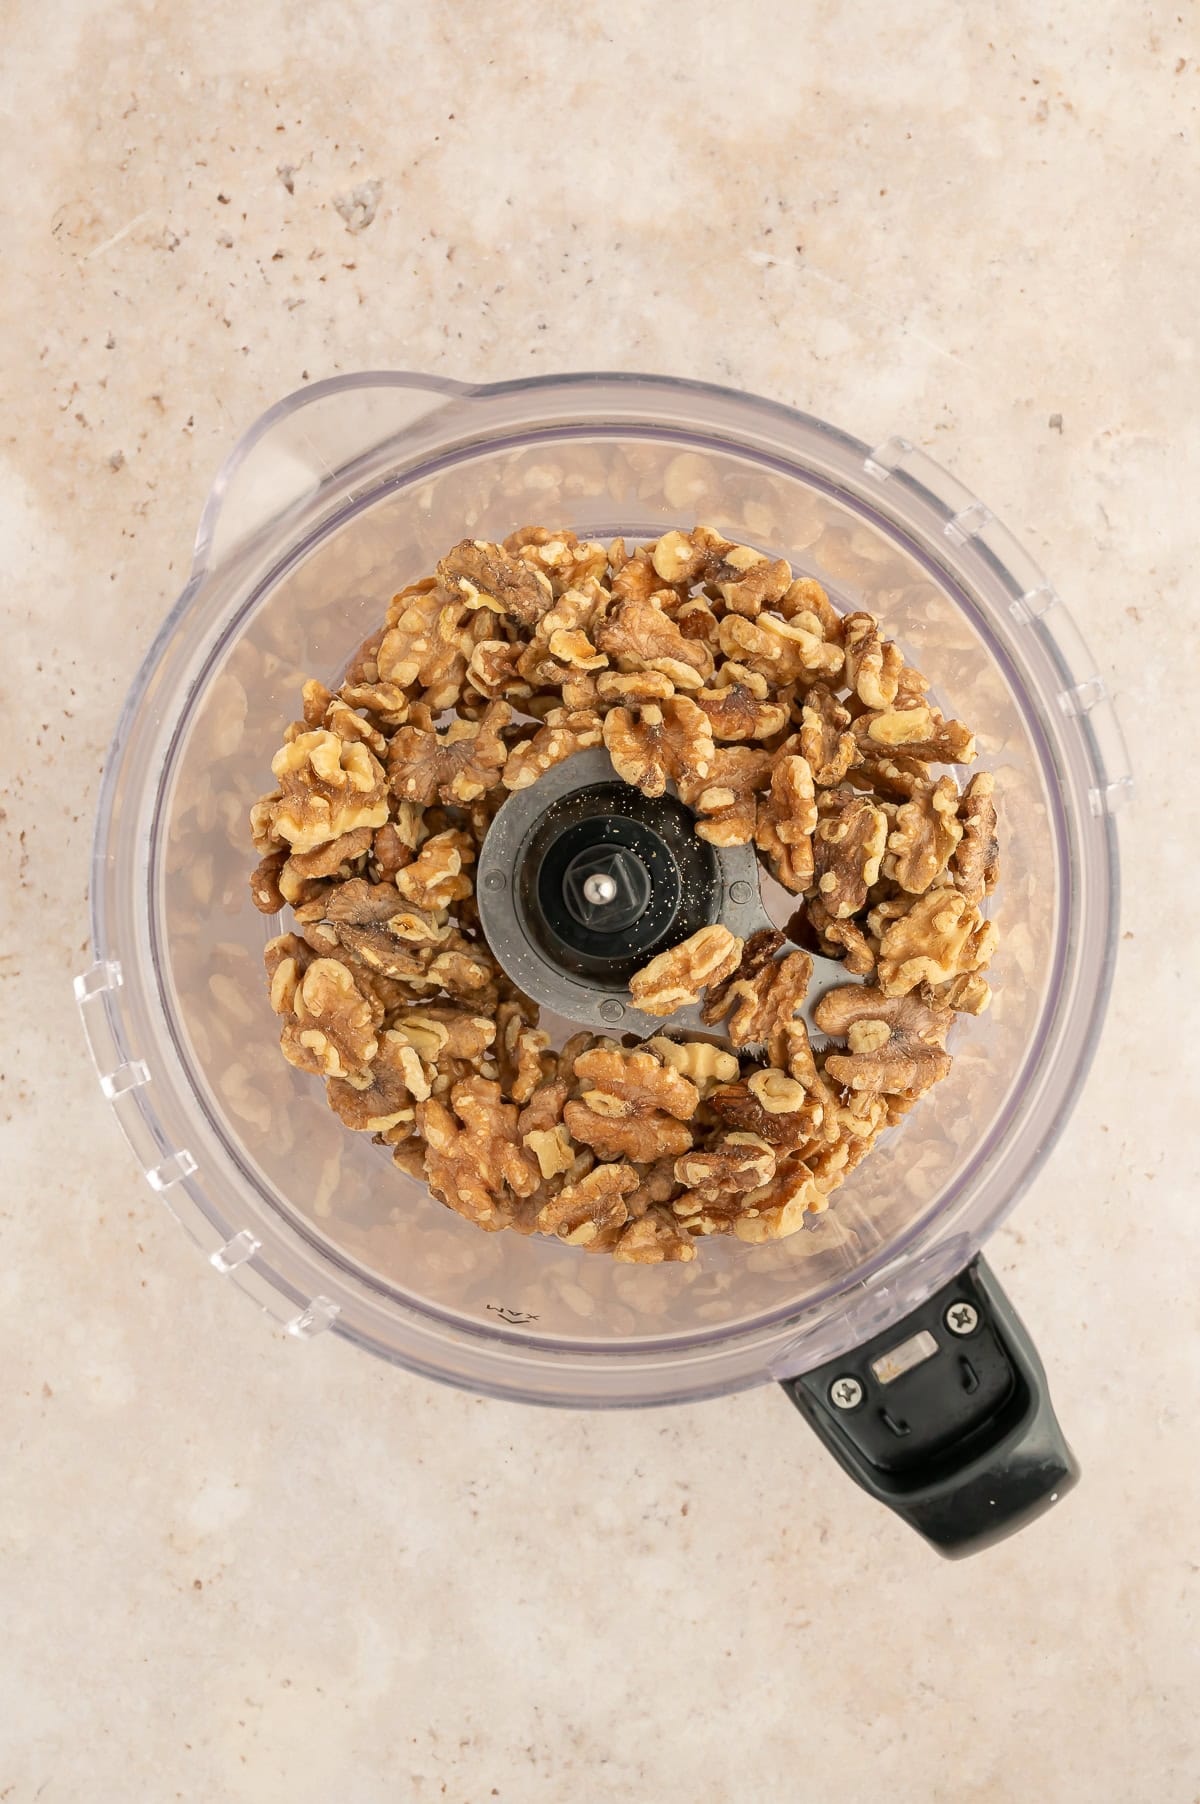
Step 2: Transfer the toasted walnut into a high-powered food processor or blender. Blend until a creamy nut butter forms, scraping the sides of the machine with a rubber spatula periodically. This could take 5-10 minutes.
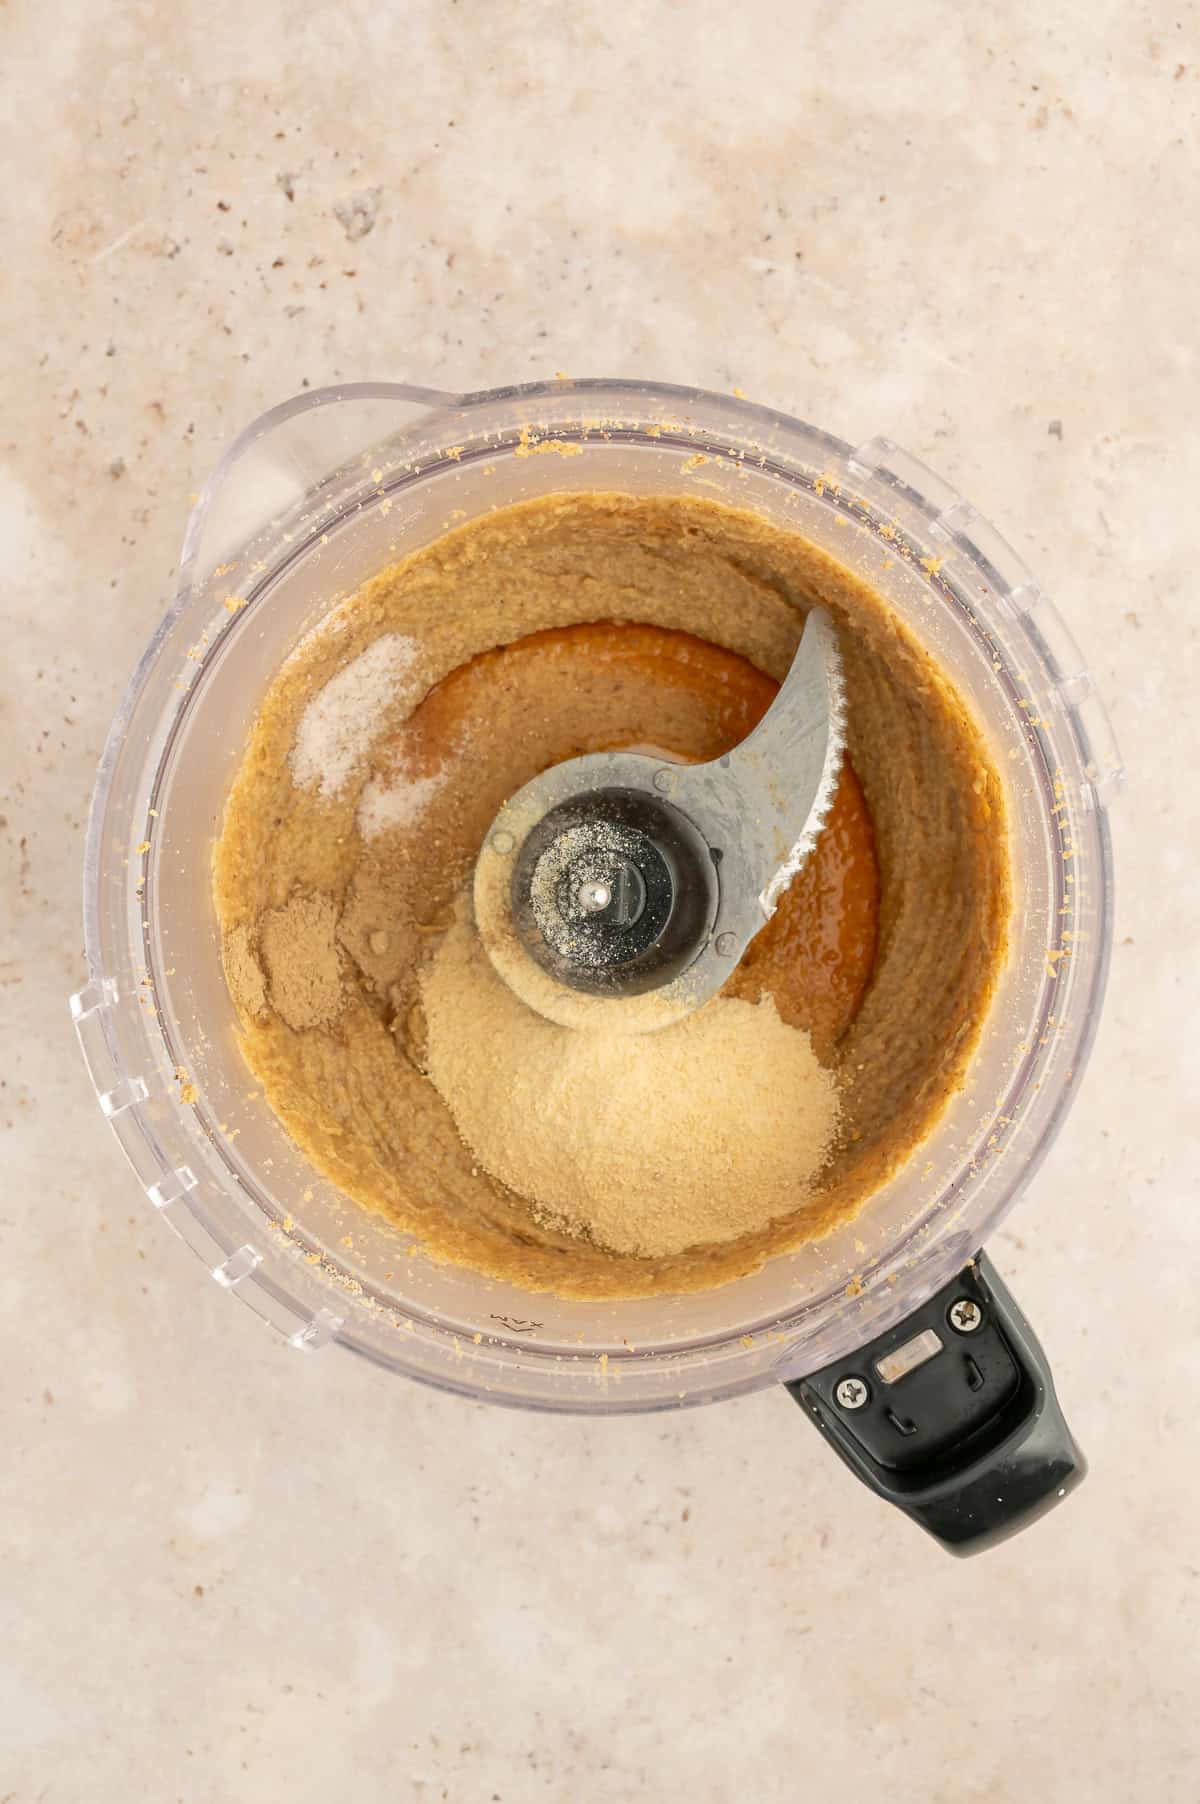
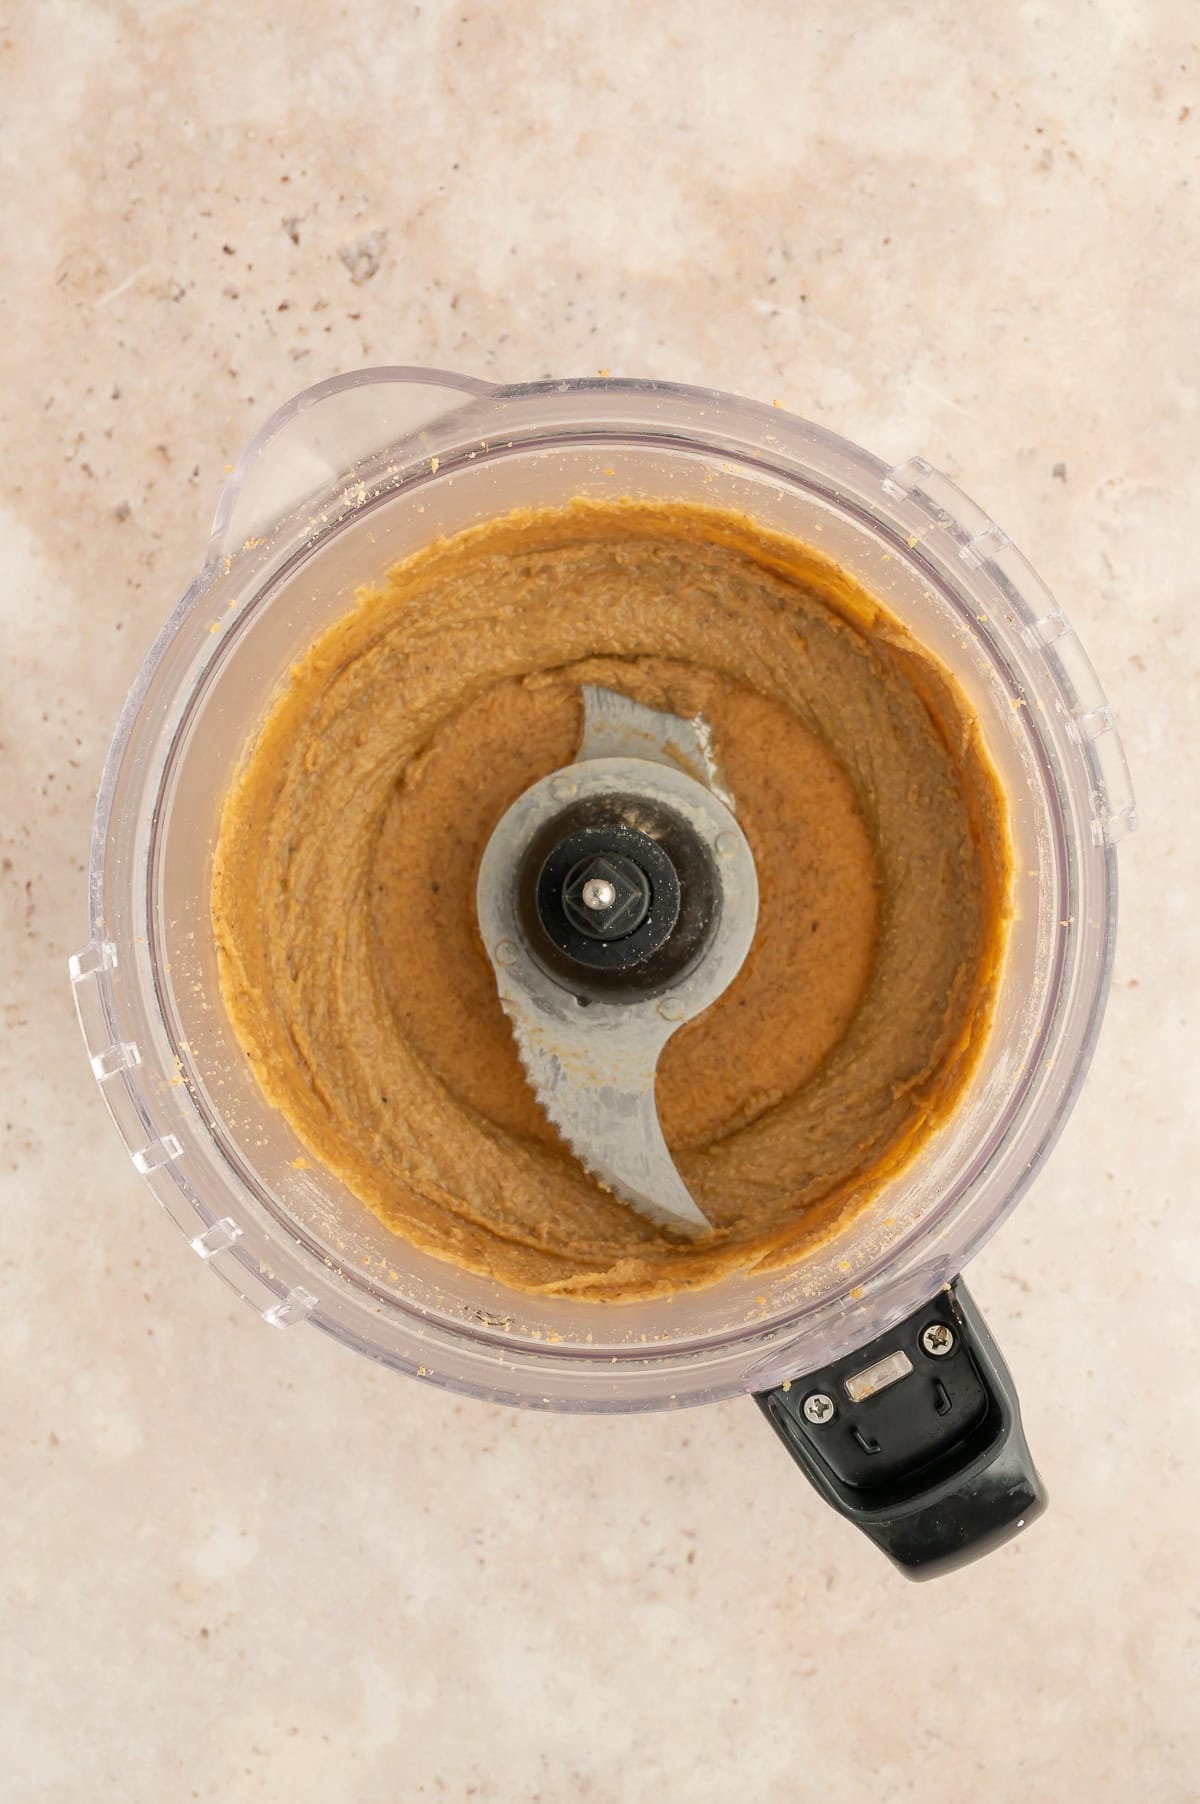
Step 3: Once a creamy nut butter forms, add the maple sugar, vanilla extract, sea salt, and cardamom (if using). Continue to blend until the sugar is fully incorporated, and the walnut butter returns to a creamy consistency, scraping the sides as needed.
Step 4: Transfer to a jar with a lid and store in the fridge for up to 3 weeks.
Commonly Asked Questions
Because walnuts are particularly sensitive to oxidation (all those healthy monounsaturated fats!), it is best to store this nut butter in the fridge. Store in a mason jar with a lid, or in an airtight container and consume within 3 weeks. Give it a little stir before using because some oil separation may occur.
For longer storage, you can freeze walnut butter. Simply place in the freezer in an airtight container and store for up to 1 month. Thaw in the fridge overnight when ready to consume.
Yes! Raw walnuts can absolutely be used. You will not achieve the same creamy texture (expect it to be a little more thick) as you would using toasted nuts and the flavor will be slightly more bitter, but still delicious and perfect for eating by the spoonful.
Of course! Personally, I think walnuts are a little too bitter to make unsweetened nut butter but you can absolutely reduce or omit the maple sugar or coconut sugar.
Serving Ideas
This walnut butter is smooth, flavorful, and versatile. Here are some ideas to use it:
- Mix it into a smoothie with frozen banana and protein powder
- Swirl it in to some oatmeal
- Use it to top a smoothie bowl
- Spread it on toast or other baked goods like this Chickpea Flour Banana Bread
- Use it to top pancakes or these Crispy Paleo Waffles
- Spread it on sliced apples or bananas
Dietitian Notes
- Nutrient-Dense – Walnuts are rich in plant-based omega-3s (ALA), which support heart health and help reduce inflammation, and contain nutrients like copper, folate, vitamin B6, manganese, and vitamin E.
- Naturally Satisfying – With a mix of healthy fats, protein, and fiber, walnut butter is the perfect addition to your morning meal or snack.
- Minimal Ingredients – Made with toasted walnuts and no refined sugar (naturally sweetened with maple sugar), this recipe is wholesome and delicious.
Recipe Tips
- Lightly toasting the walnuts (about 14-16 minutes at 300°F) brings out their rich, nutty flavor and makes blending easier. Raw walnuts can be used but will not produce as creamy of a nut butter.
- Walnuts go through several stages in the food processor (crumbly → doughy → creamy). Keep processing—it can take up to 10 minutes for a silky-smooth butter.
- Stop and scrape the sides of your food processor or blender every couple of minutes to ensure an even, creamy consistency. This also gives the motor a little break and prevents it from overheating.
- Add only the walnuts initially, and when a creamy butter forms, add the remaining ingredients. Continue to blend after the remaining ingredients. Scrape the side of the food processor as needed.
- Using a liquid sweetener could cause your nut butter to seize up and the oil to separate more aggressively. I know some people recommend maple syrup but I could not get it to work and much preferred the texture using granulated sweeteners.
Try These Other Great Recipes
Looking for other tasty recipes? Here are a few you might like:


Did you try this Walnut Butter?
I would love to see how it went! Share a photo and tag me on Instagram or leave a comment on Pinterest.
Love this recipe? Connect with me by leaving a comment below! 😊
📖 Recipe
Walnut Butter
Equipment
- Baking sheet
- Parchment paper
- Food processor
- Rubber Spatula
Ingredients
- 2 cup Raw walnuts
- ¼ cup Granulated maple sugar or coconut sugar
- ¼ teaspoon Sea salt
- 1 teaspoon Vanilla extract
- ¼ teaspoon Cardamom optional
Instructions
- Preheat the oven to 300 F. Line a baking sheet with parchment paper and spread raw walnuts evenly across. Place in the preheated oven and baked for 14-16 minutes, or until the nuts are lightly toasted and have an oily sheen. Remove from the oven and allow them to cool slightly.
- Transfer the toasted walnut into the high-powered food processor or blender. Blend until a creamy nut butter forms, scraping the sides of the machine with a rubber spatula periodically. This could take 5-10 minutes.
- Once a creamy nut butter forms, add the maple sugar, vanilla extract, sea salt, and cardamom (if using). Continue to blend until the sugar is fully incorporated, and the walnut butter returns to a creamy consistency, scraping the sides as needed.
- Transfer to a jar with a lid and store in the fridge for up to 3 weeks.
Notes
- Lightly toasting the walnuts (about 14-16 minutes at 300°F) brings out their rich, nutty flavor and makes blending easier. Raw walnuts can be used but will not produce as creamy of a nut butter.
- Walnuts go through several stages in the food processor (crumbly → doughy → creamy). Keep processing—it can take up to 10 minutes for a silky-smooth butter.
- Stop and scrape the sides of your food processor or blender every couple of minutes to ensure an even, creamy consistency. This also gives the motor a little break and prevents it from overheating.
- Add only the walnuts initially, and when a creamy butter forms, add the remaining ingredients. Continue to blend after the remaining ingredients. Scrape the side of the food processor as needed.
- Using a liquid sweetener could cause your nut butter to seize up and the oil to separate more aggressively. I know some people recommend maple syrup but I could not get it to work and much preferred the texture using granulated sweeteners.
Amanda says
I cannot stop eating this by the spoonful or on top of fruit.